
 |
| Preview of the finished bed and bedding! |
In early December I had an "ah ha"
moment and knew what I wanted to give my husband's two eldest nieces for
Christmas. Needless to say he wasn't getting away with doing nothing!
and kindly took a little detour on his way home from a business trip to make a stop at
IKEA for me.
I started with these - DUKTIG doll beds from IKEA which are suitable for dolls up to 18 inches long (American Girl Dolls).

The bed comes flat packed with bedding in a plastic bag.
They come in unfinished wood which is very soft (marks easily) but I assembled them in about 10 minutes each.
They come in unfinished wood which is very soft (marks easily) but I assembled them in about 10 minutes each.
 |
| The assembled bed and bedding. |
I
decided to varnish one and paint the other. I had planned on cream
paint but when I opened the tin it was solid! Plan B - my choices were
burgundy red, pottery barn boys blue or Farrow and Ball green.

I
opted for the tin of unopened "Vert DeTerre" Farrow and Ball that had been abandoned
for an uncompleted project and got to work. It took one coat of
undercoat and two top coats. The varnished bed took 3 coats (despite
the tin saying 2 coat finish!).
 Mid way through the process!
 I created mattresses for each of the beds.
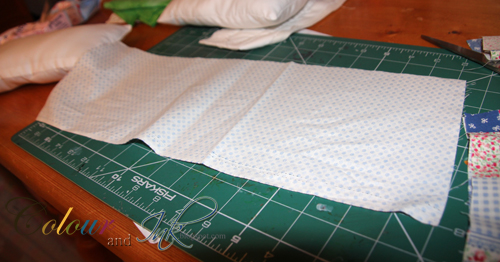
I used the instructions/tutorial from here - on "So Not a Domestic Diva" blog. I had a remnant of fleece cotton which I used and did the box pleats as Lea did in her video. One mattress is probably a tad too big and one is too small (because it was all the material I had left!). But the fitted sheet hides a multitude!.
I checked it for size before I hand stitched the end of the seam (visible in photo above). I used toy stuffing in the second mattress but you could use wadding or whatever you have to hand.
 I got the fitted sheet and pillow tutorial from "From An Igloo" and quilt ideas from Jaime over on "that's my letter". I didn't actually patchwork though... just bought fabric in Home Focus that resembles patchwork squares!.
The step by step for the quilt was much the same as the sleeping bag (that post is here) - 3 layers (top layer - patchwork fabric, middle layer - fleece, bottom layer - cotton fabric).
 I stitched along the lines on the red quilt to give the appearance of patchwork! and stitched on the diagonal on the blue quilt.
 I like how they both turned out. The undersides of the quilts matched the fitted sheet but I didn't have enough fabric to make top sheets!. I added bias binding around the edges with the machine on the front and hand stitched using a slip stitch (invisible) on the back of each quilt.
 Here are the beds side by side dressed with their quilts and pillows. Instructions for pillows are also on the doll sleeping bag post here.
 I made my quilts long enough to reach just above the floor - or alternatively they can be tucked under the mattress when the doll is in bed.
 The extra pillows .... accidents! They were pillowcases that weren't quite right so I cut them down, created two bolsters pillows/cushions and one sealed pillow sham.
Thanks so much for peeking. As I said previously - I have never attempted anything like this before (hence my two sewing posts are devoid of sewing jargon/details!) and my machine has only ever sewn paper!
Thanks so much for stopping by - hope this post gives you the encouragement to try something new in 2013.
Happy New Year!


I used the instructions/tutorial from here - on "So Not a Domestic Diva" blog. I had a remnant of fleece cotton which I used and did the box pleats as Lea did in her video. One mattress is probably a tad too big and one is too small (because it was all the material I had left!). But the fitted sheet hides a multitude!.
I checked it for size before I hand stitched the end of the seam (visible in photo above). I used toy stuffing in the second mattress but you could use wadding or whatever you have to hand.

The step by step for the quilt was much the same as the sleeping bag (that post is here) - 3 layers (top layer - patchwork fabric, middle layer - fleece, bottom layer - cotton fabric).


Thanks so much for peeking. As I said previously - I have never attempted anything like this before (hence my two sewing posts are devoid of sewing jargon/details!) and my machine has only ever sewn paper!
Thanks so much for stopping by - hope this post gives you the encouragement to try something new in 2013.
Happy New Year!




 Posts
Posts

